Everything so far has produced drafts. This lesson connects the last piece: your actual website. Once it's connected, an approved article goes live with one click, with its title, meta description and URL already set. No copying and pasting into your CMS.
Pick your destination
Open Publish Queue and find Publishing destinations. Click + Add another destination (or Add a destination if it's your first).
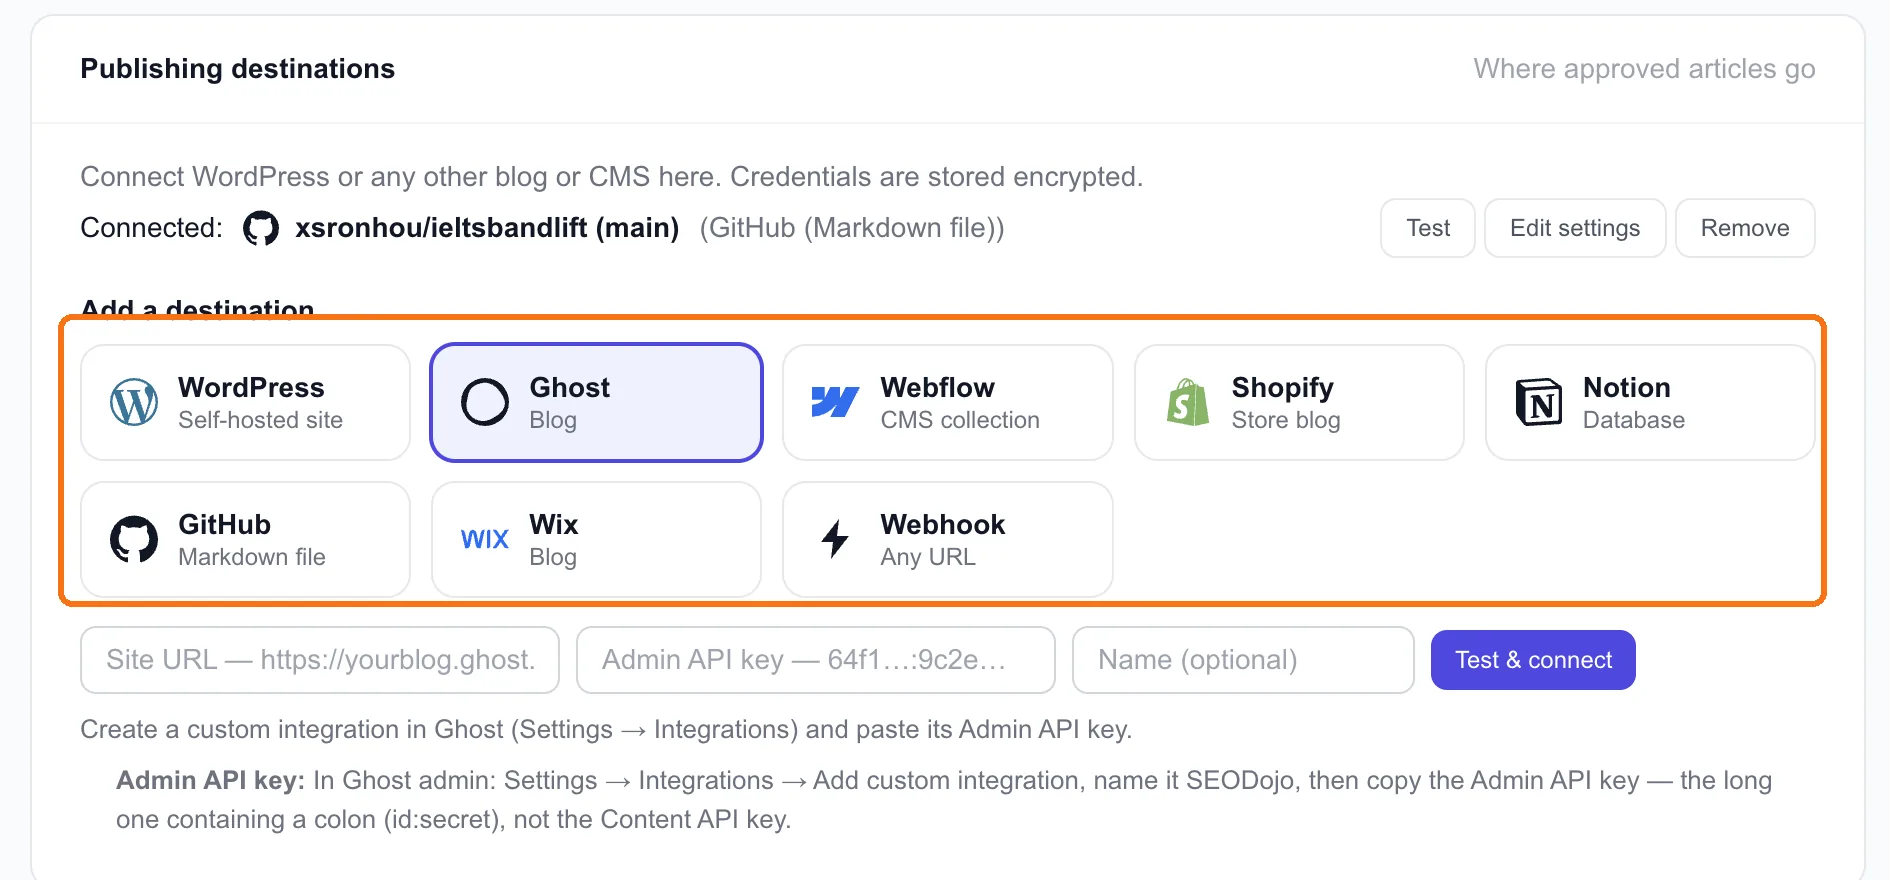
There are eight:
| Destination | Publishes as | Good for |
|---|---|---|
| WordPress | A post on your self-hosted site | Most blogs |
| Ghost | A post | Ghost blogs and newsletters |
| Webflow | An item in a CMS collection | Webflow sites |
| Shopify | A post on your store's blog | Online stores |
| Notion | A page in a database | Notion-powered sites |
| Wix | A blog post | Wix sites |
| GitHub | A Markdown file in your repo | Next.js, Astro, Hugo and other code-based sites |
| Webhook | A request to any URL | Anything else, or your own pipeline |
Most of them connect by signing in to that service, so you never paste a password into SEODojo. Ghost asks for an Admin API key from a custom integration instead, and the form tells you exactly where to find it. Whatever you connect, credentials are stored encrypted, and only the workspace owner can add or remove a destination.
How ieltsbandlift.com is connected
Our site is built with code, so it uses GitHub. It's connected to the xsronhou/ieltsbandlift repo, on the main branch, as a Markdown file. When an article is published, SEODojo commits a new .md file to the repo, with the title, description, date and slug at the top. Pushing to the branch triggers the site's deploy, and the article is live.
If your site is built with Next.js or a similar framework, SEODojo has a setup guide for exactly this, linked from the Publish Queue's help.
Tip: Use Edit settings on a GitHub destination to set the File path (it must include
{slug}, and can use{year},{month}and{day}; the default iscontent/posts/{slug}.md), the Public URL pattern so SEODojo links to the live post, and any Extra front matter your site needs, like an author or category. Set them once and every article arrives the way your site expects.
Test before you trust it
Click Test next to the destination. It checks the connection works without publishing anything. Do it after connecting, and again whenever you change a password, token or setting on the CMS side. That's the usual reason a publish fails.
What gets sent with every article
When you publish, the destination receives more than the article text:
- The SEO title and meta description you approved (lesson 4.2), sent to the right field for each CMS, including the SEO plugin's fields on WordPress where it has one
- A clean URL made from the keyword. Our speaking guide becomes
ielts-speaking-practice, not the full title. - The cover image, if you generated one (lesson 3.2), on destinations that take one
Not using a CMS at all?
Under API access on the same page you can create an API key for the REST API or the MCP server, which lets Claude, Cursor and other AI assistants read your articles and queue new ones. That's for developers and headless sites. Module 8 covers it.
Done when
- Your site is connected as a destination
- Test passes
- You've set the path, URL pattern and any extra fields your site needs in Edit settings
- You know where approved articles will land on your site, and what their URLs will look like